17 November, 2015. The day before yesterday I asked my son to sit on the sofa and read. He was quite patient, but still I did not have time for more than one 15 minute sketch before he started getting itchy feet. So I took a few photos from all sides, in case I might find the original layout unsuitable.
With the research on other artists I did yesterday and a refresher on complementary colours I decided that soft pastel crayons should be ideal for the final drawing.
All websites mentioned in this post were accessed on 3 November 2015.
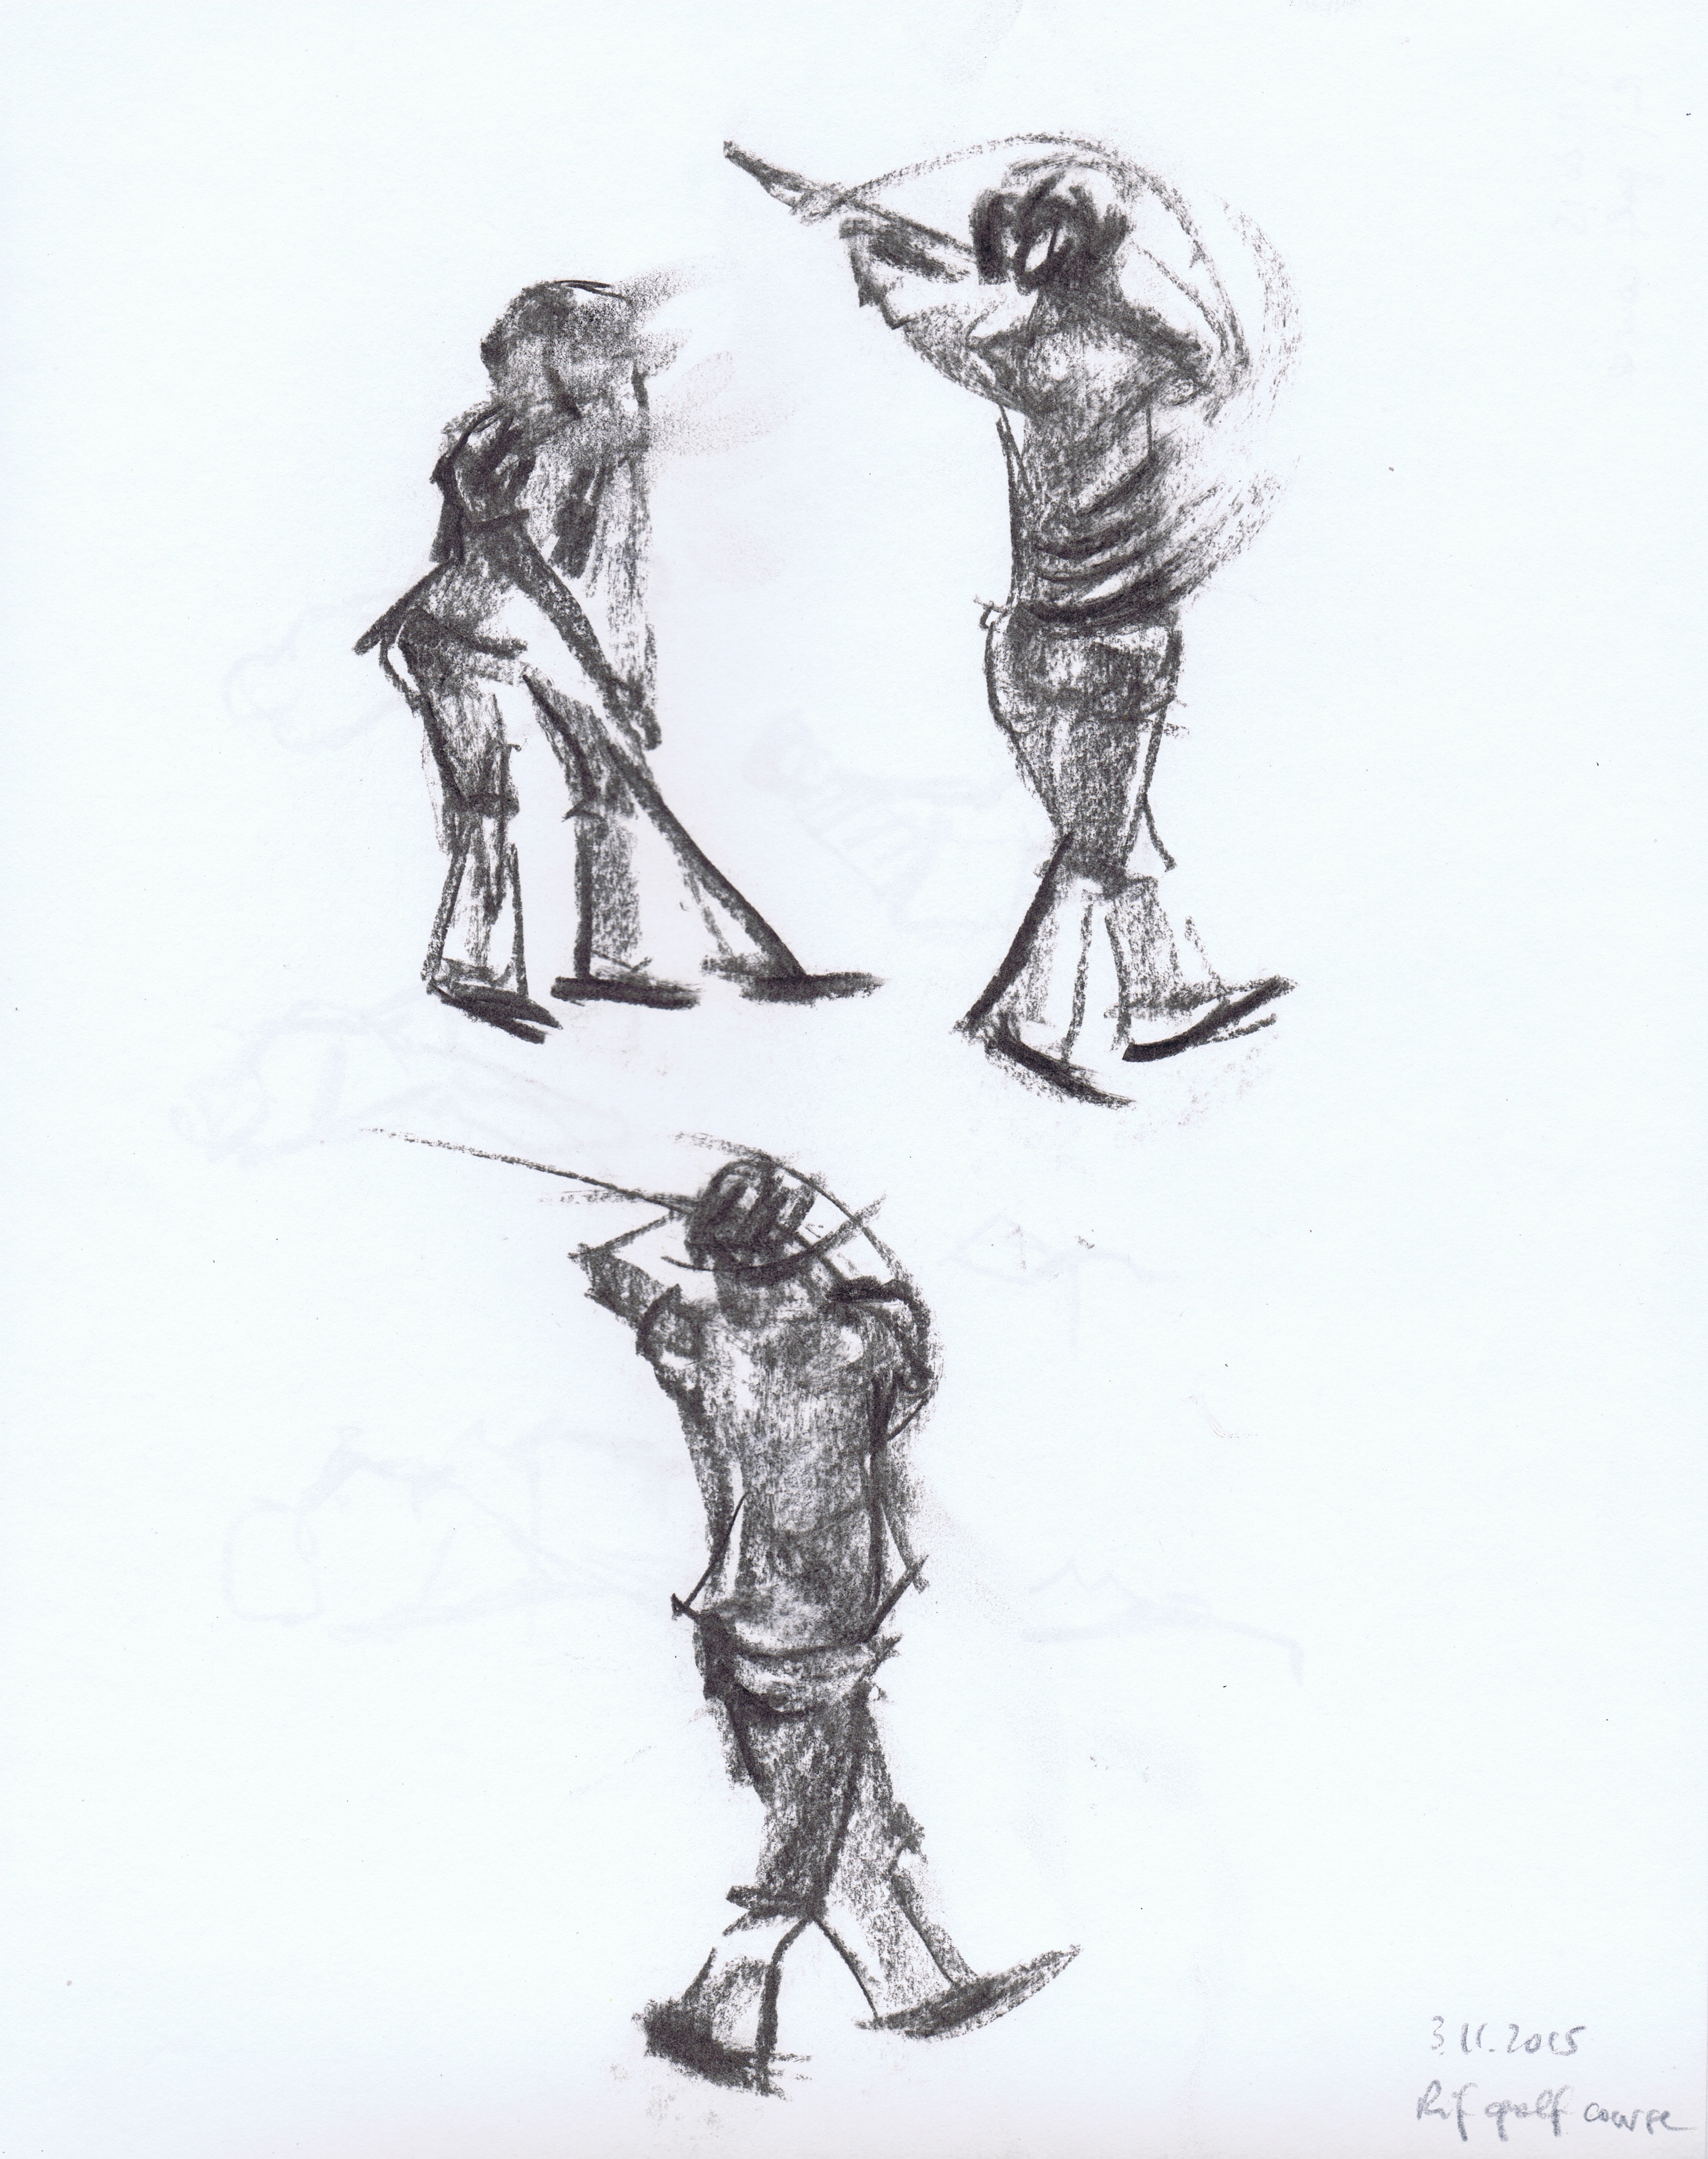
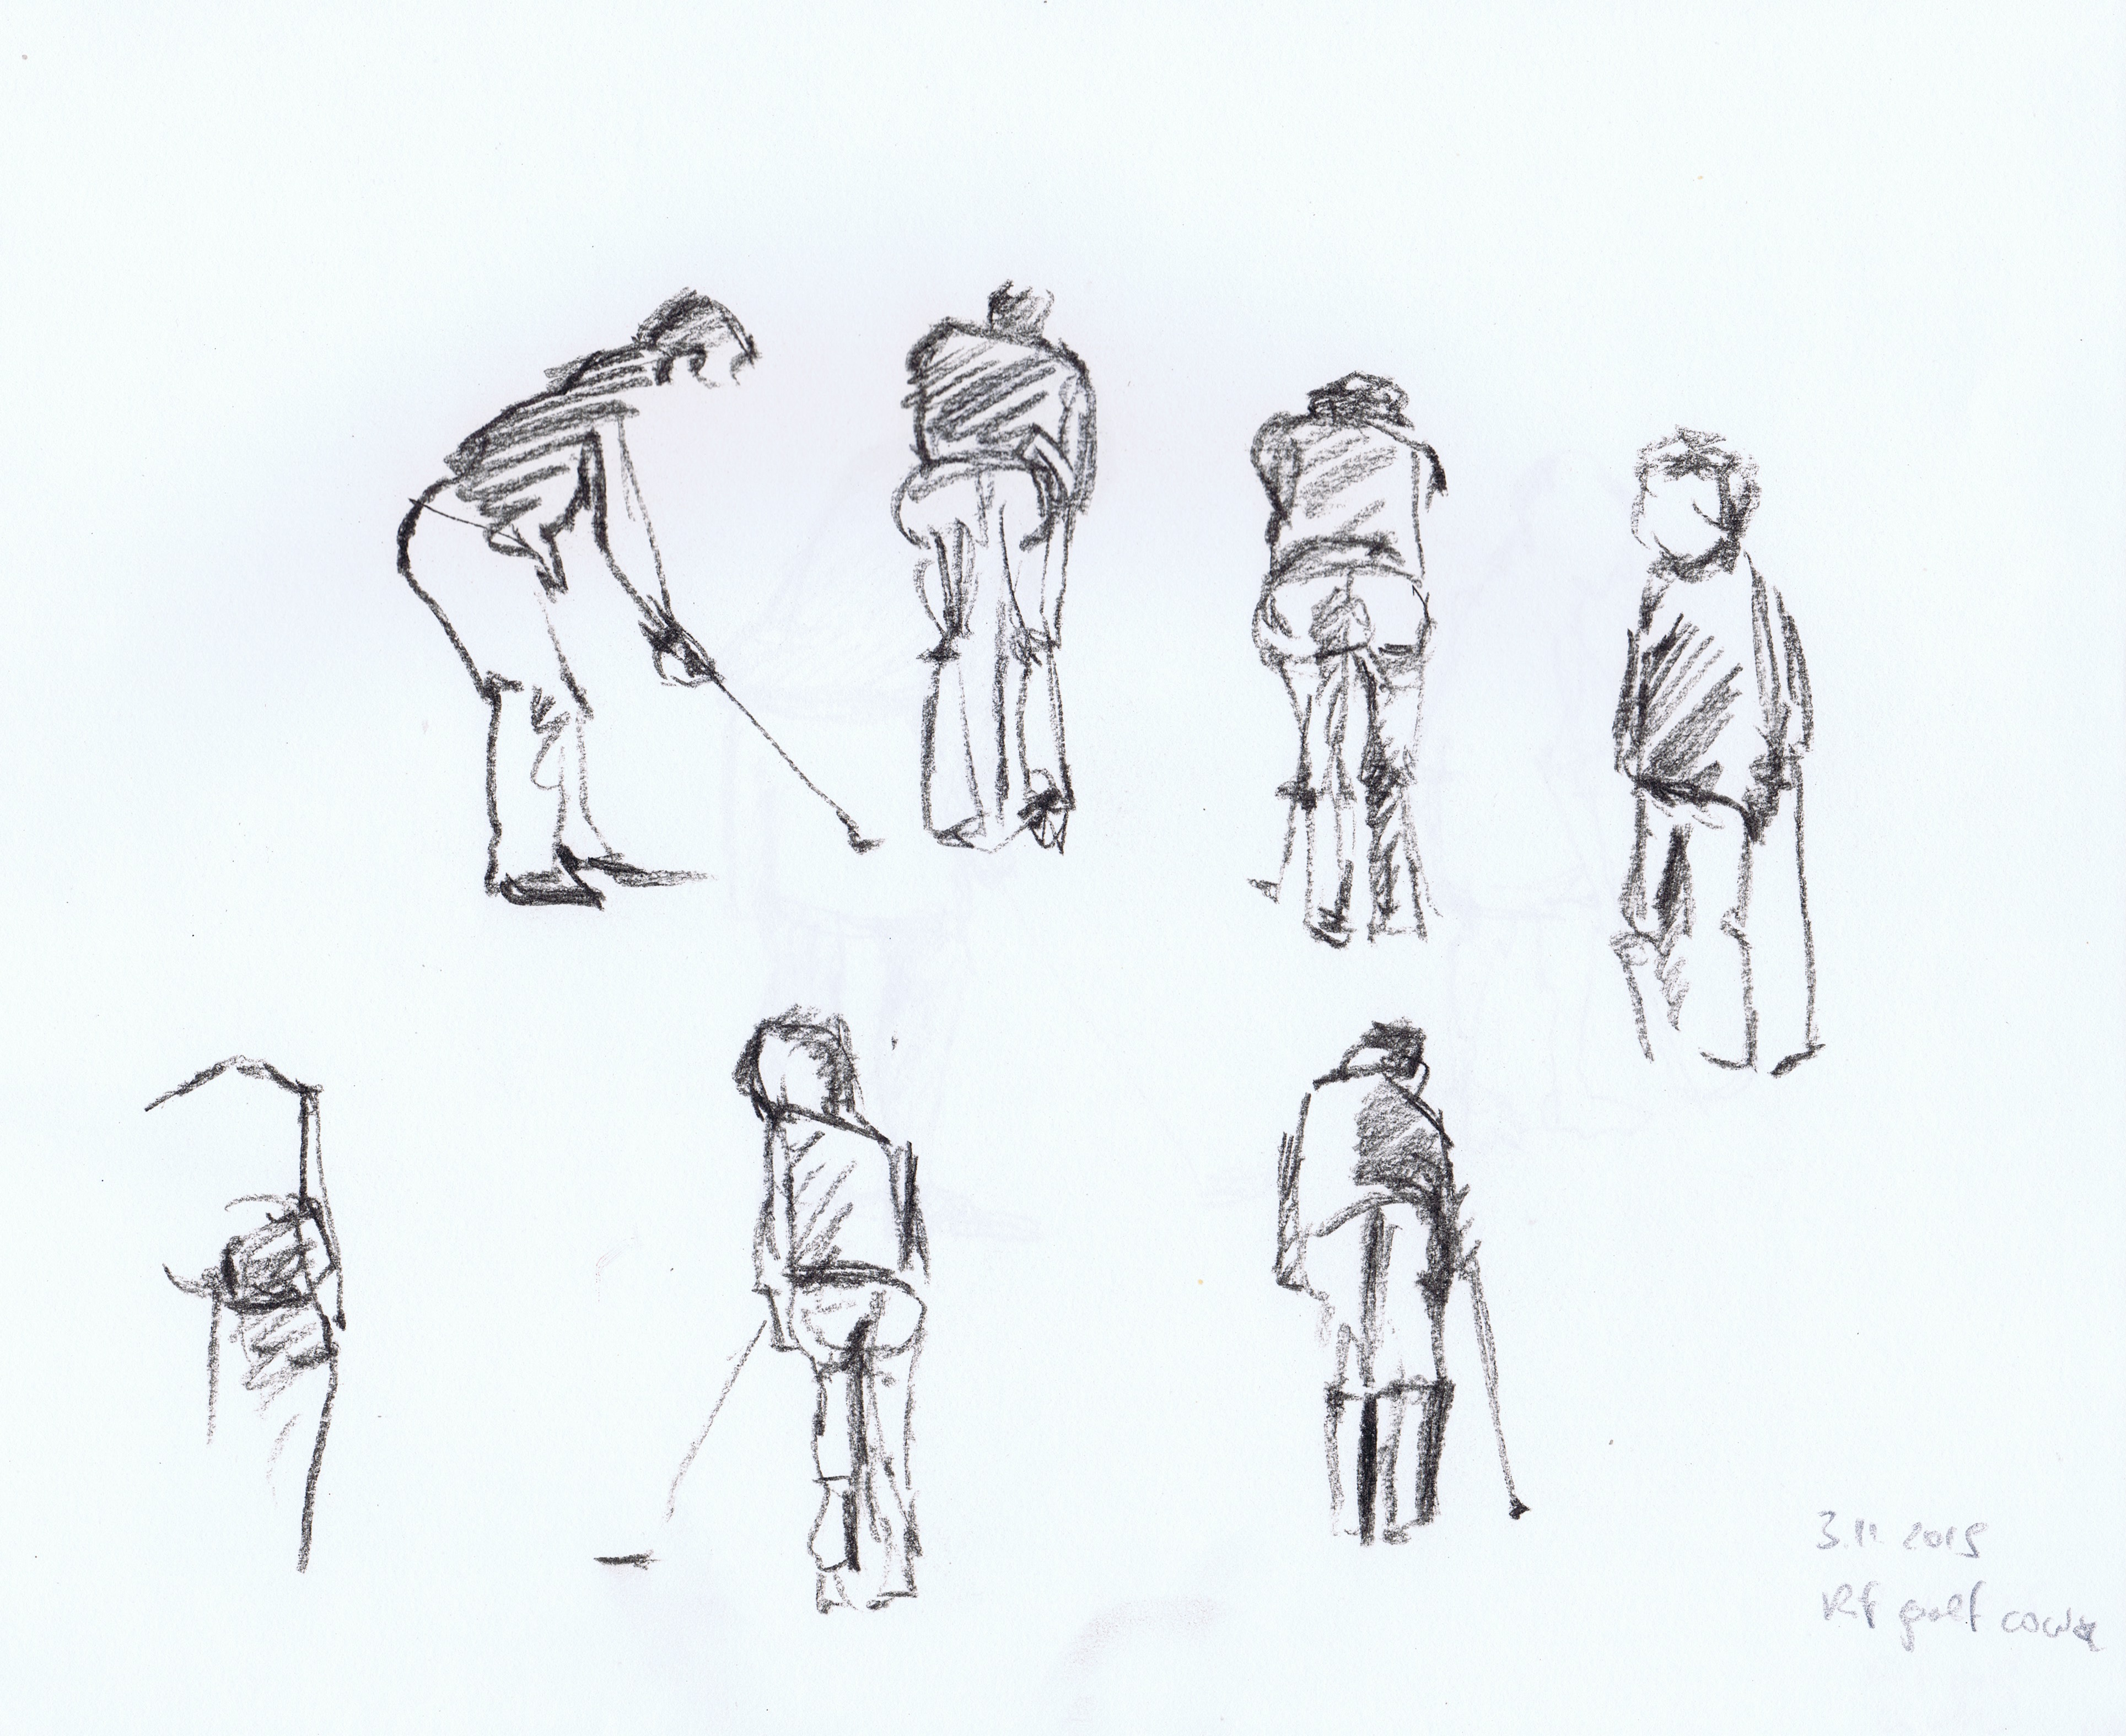
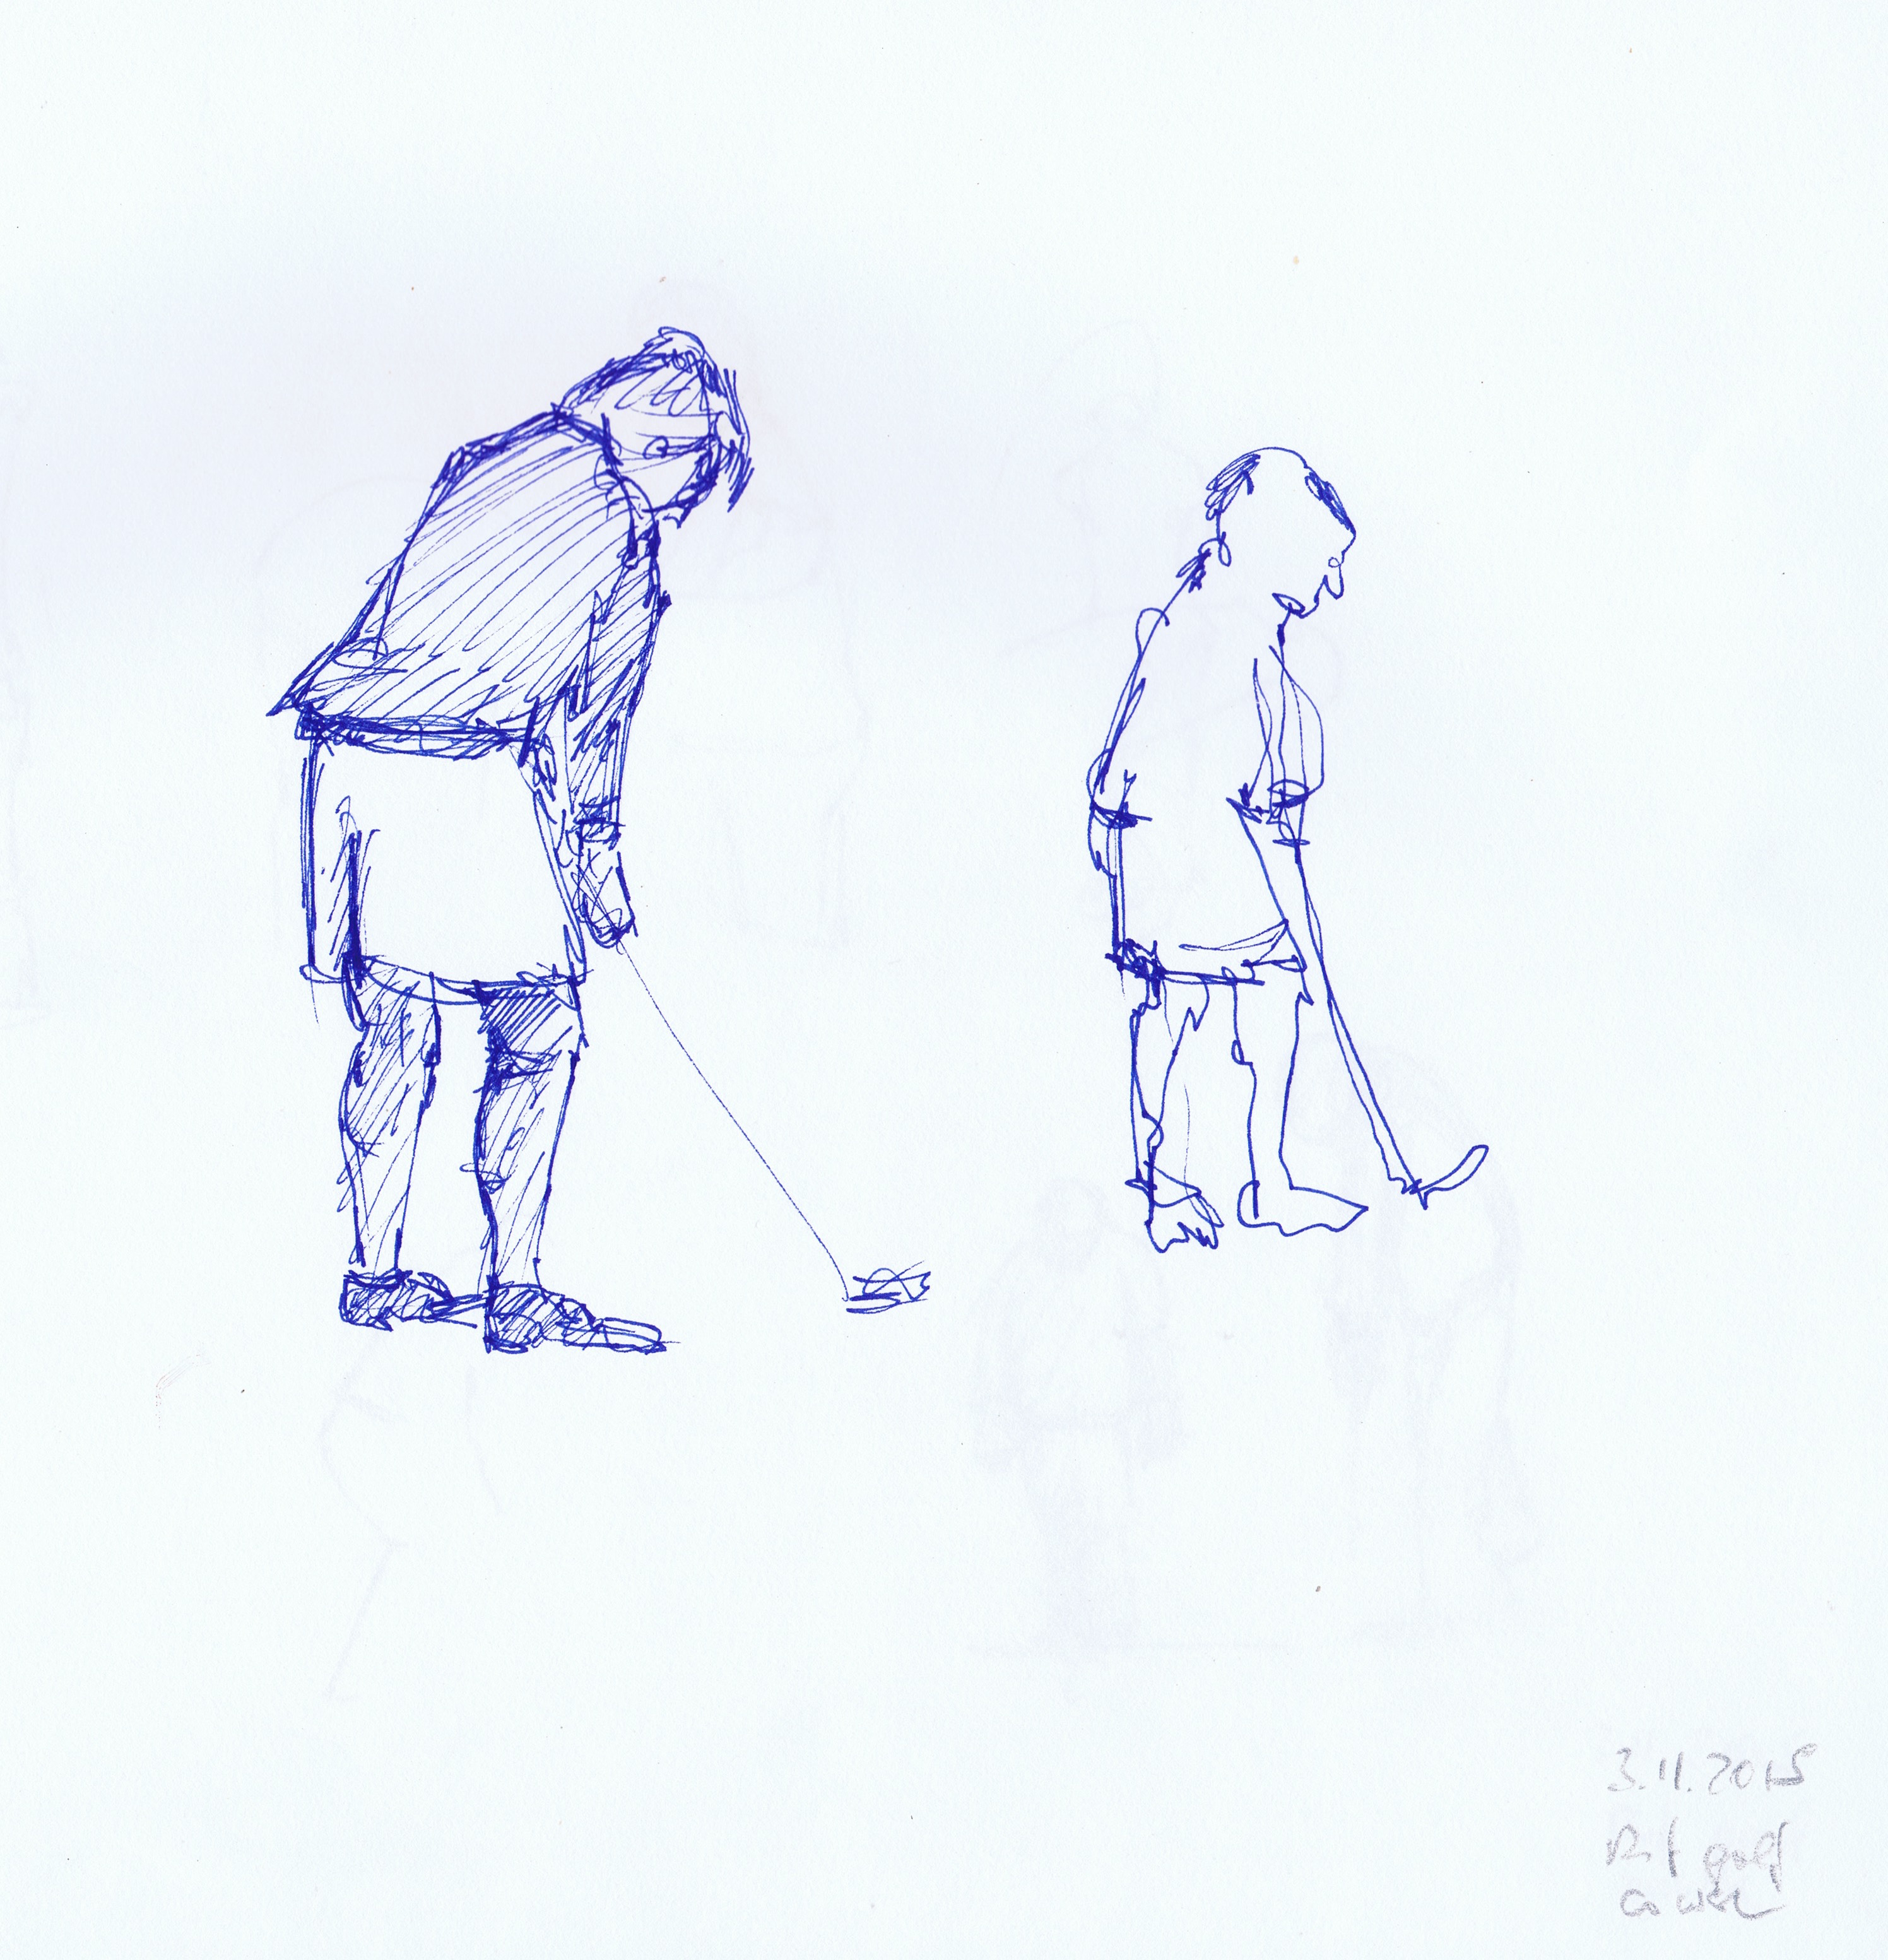
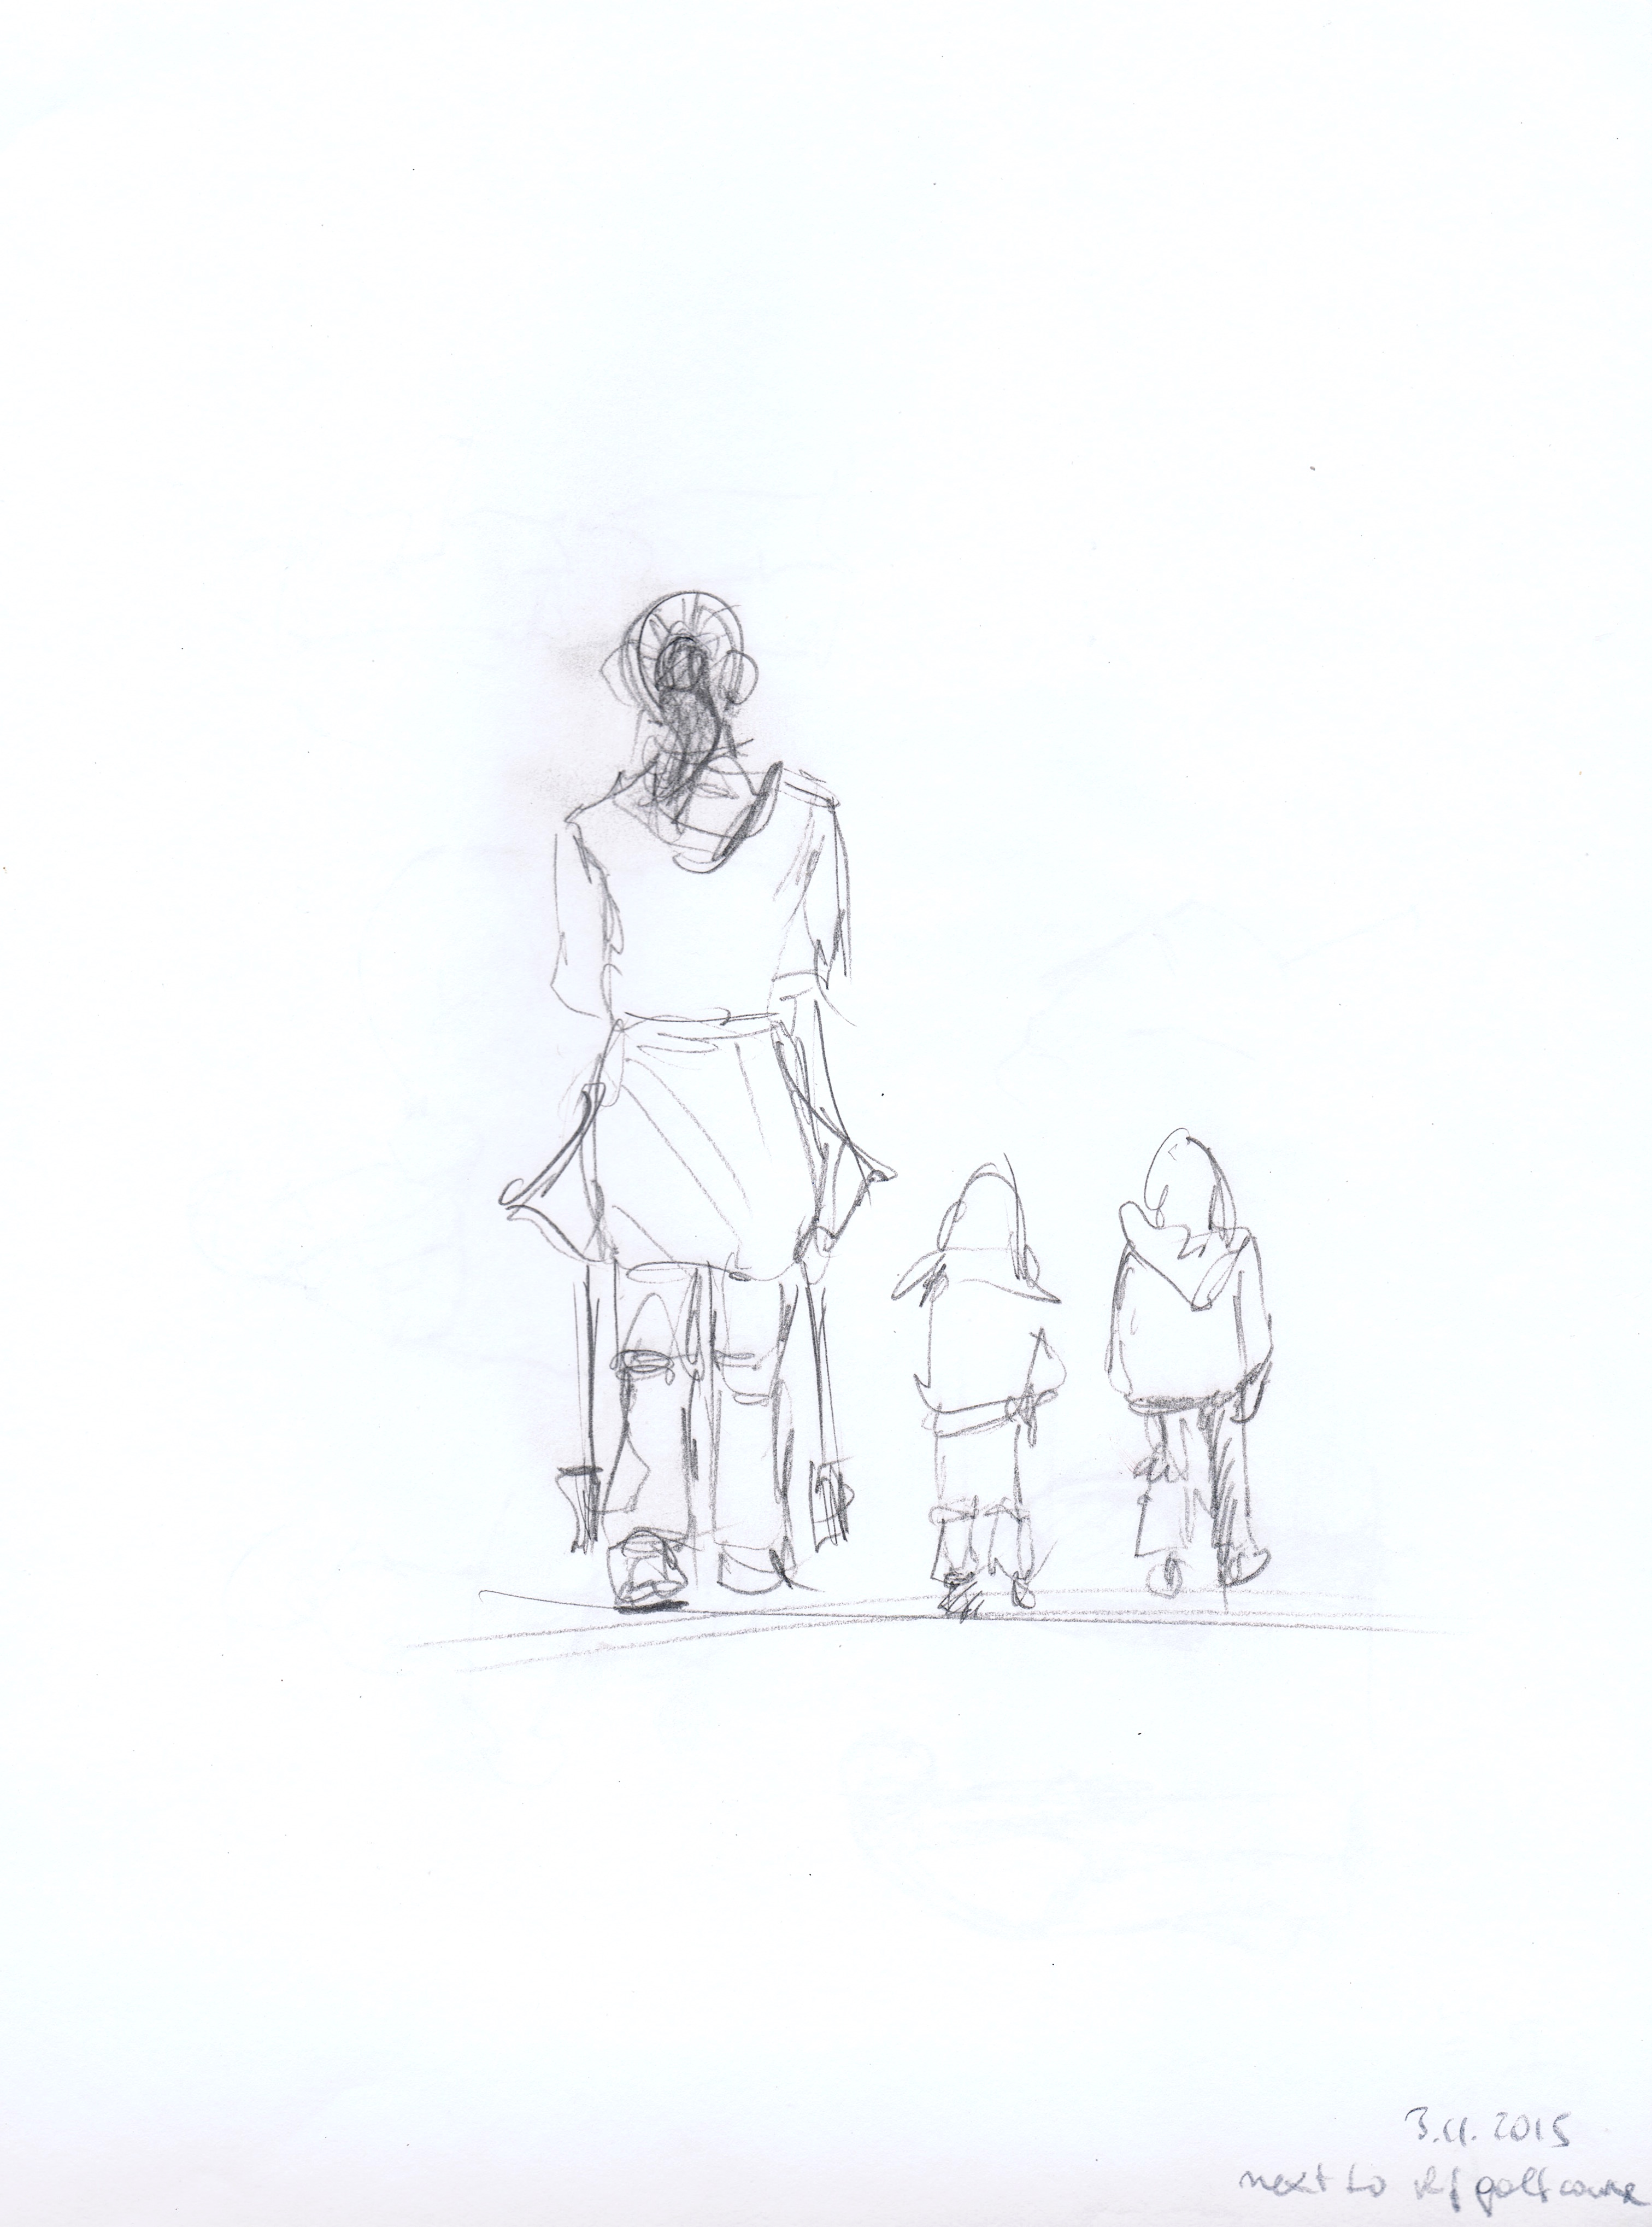
03 November, 2015. I spent a very beautiful golden autumn hour at our local golf course, drawing the aspiring golfers with a range of drawing tools (conté pencil, charcoal, blue ink pen, pencil). Instantly I noticed that, first, it takes a while to take in the typical postures assumed, second, that I will need shorthand marks to translate them into drawing language and, third, that it is immensely important to get the balance right the first time. Still, no matter how hard I looked, I had to make some highly uninformed guesses to complete my figures and I can see how it is necessary to get thoroughly acquainted with any type of movement in order to build a believable, energetic figure.
08 August,2015. A nice day for studying aerial perspective looking out of my workshop window. It was very hazy and I had to start early in order not to lose the view of the higher mountains completely. Using a water-soluble green-grey pencil (without water) and a stomp I produced the following sketch:
Aerial perspective, view from workshop Water-soluble pencil and stomp
I noticed that it is not as easy as expected to produce the required layers by selectively increasing pressure when using this combination of drawing tools. The darkest areas closest to my position are just dark enough to give an impression of clarity.
It is so hot outside that I decided to work from a photo next, again from our mushroom hunting trip two weeks ago. This time I used a thin stick of willow charcoal. It was comparatively easy to alter tonal values and I liked the effect of using the side of the stick to draw the spruce and larch trees lining the meadow.
Aerial perspective, view from Fanningberg towards Mauterndorf, Lungau Willow charcoal
I had been looking forward to drawing something like Wilhelmina Barns-Gramham’s mixed media townscape view on p. 102 of the study guide for this exercise. This is what I got and I am quite happy about it:
Aerial perspective, view of Gaisberg mountain (with radio transmitter) on top on the way to Nockstein Mixed media (acrylic and blue oil pastel)
30 June, 2015. Equipped with my viewfinder, large sketchbook, pencils and watercolours I cycled to draw an impressive beech tree we had noticed on a walk last week. After taking several photos and making some thumbnail sketches I decided to go for a view into the canopy.
I sat down on a very comfortable lying trunk and prepared the paper with a layer of warm grey watercolour, waited for it to dry, then drew on that with a 4B pencil. This combination appeared suitable to capture the characteristics of a beech trunk and branches. The overwhelming mass of foliage I reduced to a minimum, drawing it only in places where the trunk was closest to the sun, in order to define the trunk’s boundaries without having to draw a line.
Beech thumbnails, ink penBeech, view into canopy, finished drawing, watercolour and 4B pencil
I think the exercise went quite well, despite getting interrupted and talked to every five minutes by very nice, very nosy pedestrians and cyclists, the latter inviting me to come with him for a cycling tour to the top of the quiet hill. After which I decided call it a day.
13 April, 2015. I was not quite sure from what I gained from the instructions whether I was supposed to use colour in this exercise. Since however the study guide example on p. 46 uses colour I decided to go ahead, but deliberately on the lookout for a natural object with very delicate tonal variations, e.g. a cream white vegetable such as May turnip, but with added texture. I very much like the idea of having a coloured background on which hatching is applied in similar colours, so I want to prepare a suitable background first.
Before starting the exercise I had a look at famous artists using colour hatching in very distint ways. Dürer’s praying hands are black and white ink on blue. He used a very precise type of cross-hatching, which not only creates variations in tone, but also, by the way he placed the lines, an impression of three dimensions. The latter is something I do a lot, too, but with a totally different type of stroke working like winding a more or less continuous thread around a volume, combined with other types of hatching.
The second was Van Goghs painting “Landscape with wheat sheaves and rising moon”. His pointillism-like use of short strokes of different colours produces an impression of light and shade as well as shimmering, fluctuating tonal variation.
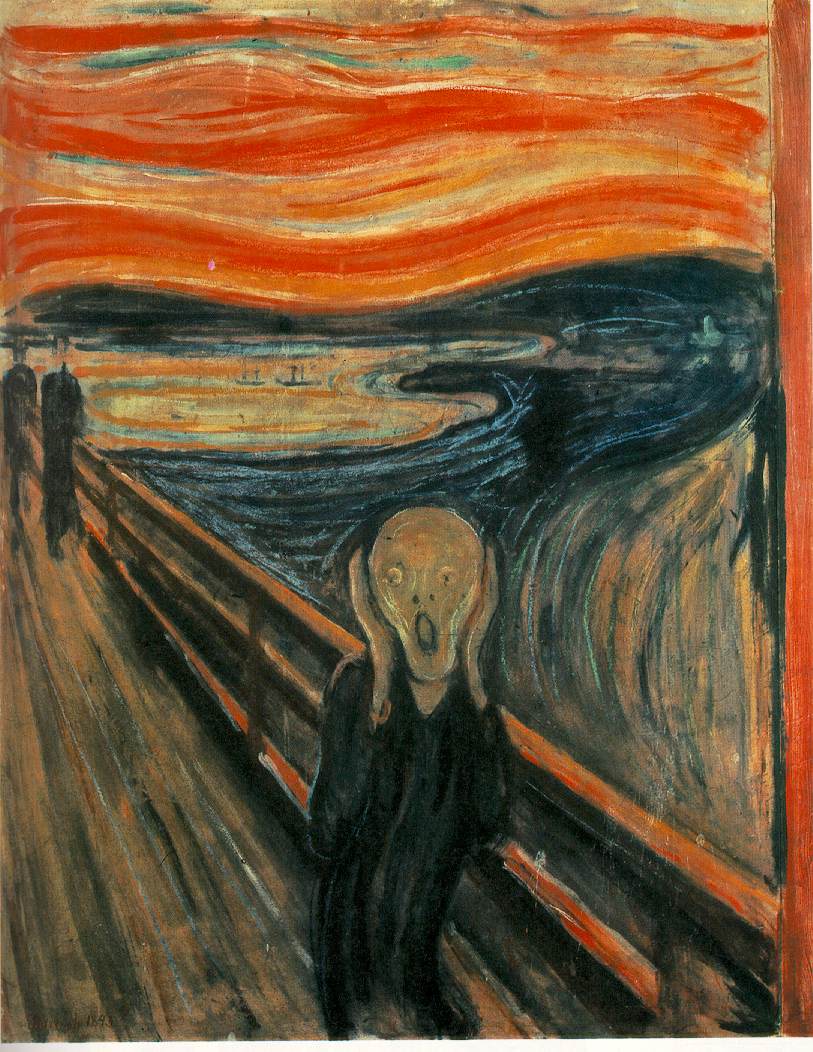
In Edvard Munch’s “The Scream” long lines of different colours are set next to each other, so maybe this is not hatching in the proper use of the word, but to me this appears to be one extreme end of the possible uses of coloured lines.
14 April, 2015. Trying to put my plan into practice I bought a relatively large piece of ginger. Spoilt for choice of bizarre specimens I went for a manageable size with beautiful pink spots, prepared a sheet of sketch paper with ginger-colour watercolour, then drew on this with different watercolour pencils. This type of exercise usually takes me ages to finish, but the result is OK. I think that I managed to develop the typical ginger surface patterns in a consistent manner, creating interesting tonal variation by using different kinds of hatching, but I would need to think more about the use of the paper as a whole. The composition with a kitchen roll as a support for my ginger is not completely convincing, although I think that the shape of the ginger needs a quiet environment and the overall balance is correct. Not unhappy about it :o).


